One of the many joys of this time of year is the opportunity to get creative and maybe even have a go at making gifts for family and friends. Everyone loves to receive something handmade – especially when it is the work of ‘little hands’. Children benefit most when they have control: what they want to make, how they make it and the materials they use. The emphasis is normally on the process and not the end product. But when it comes to making a gift for someone special, children will take great pleasure in making an end product. They will delight in handing over their gift to an equally delighted friend or family member.
Here are some ideas that will result in a specific end-product, but also include learning opportunities for every child in the making or baking process – and more importantly, plenty of fun!
Mini fruitcakes
Ingredients: use any favourite fruitcake recipe, although you may like to replace any nuts with dates or dried apricots and, of course, no alcohol for the dried fruit! Most cake recipes will make 10-12 small cakes.
Equipment: baking parchment, one large mixing bowl and three or four smaller bowls for beating eggs, or creaming butter and sugar, a dozen small baked-bean (or similar) tins, cleaned and checked for sharp edges, measuring jugs, sieves and wooden spoons
Top tips:
- Create a recipe card with pictures of the ingredients so that the children can select and weigh them for themselves. Use pictures to illustrate the stages of the process, such as weighing and mixing then filling the tins.
- Take photographs of the process as you are going. They can be turned into a lovely card to accompany an individual child’s gift.
- If you use ring-pull tins, remember that they have a rim, which your cakes will get stuck on – so turn the tin over and remove the base with a tinopener. You can then use the removed lid to make a loose base.
Method:
- Let children weigh or measure ingredients using the picture recipe card for reference. Children will use maths skills as they measure, estimate and
divide quantities with support. They will understand that different methods are used to weigh and measure ingredients. - Use wooden spoons to cream butter and sugar. Encourage children to notice the changing texture of the mixture as more ingredients are added. Introduce new words and let children describe the process of mixing and blending as it progresses.
- Whisk the eggs: most recipes require at least four eggs so if you are doing the activity with a group of children, four small bowls and whisks will allow all them to have a go.
- Have a range of spices available and let the children sniff and taste as they decide which ones to add. It’s a good idea to place some unusual spices amongst the selection – for example, curry powder, dried thyme or garlic. This will prompt a discussion about whether they should be added – but do make sure none are sneaked in by mistake!
- Add all the ingredients into a large bowl and let each child take a turn as they select the right tools to stir with, experimenting with different sized and shaped spoons.
- Allow each child to fill a mini tin – you may have to help curb overenthusiasm here! Encourage children to estimate how much they will need and how much will be left. Will they be able to fill seven, eight or nine tins?
- When cooking, it is best to use a lower temperature than that recommended in the recipe. If cakes appear to be cooking too quickly, cover the tops with greaseproof paper and turn the oven temperature down further. You may need to reduce the cooking time slightly – check 10 – 15 minutes before the recommended cooking time to see if they are ready. When cooked, a skewer or toothpick inserted into the centre of the cake will come out clean without any cake batter sticking to it.
- Once the cakes are made and have had a chance to cool down, they can be decorated with icing – it’s more fun to let the children make their own as they will be surprised by just how little water they need to make a paste. Ready-roll icing is also handy for colouring and cutting out shapes such as holly leaves or stars.
Biscuits
If fruit cakes are not practical for you and your little ones, then these festive biscuits offer a delicious alternative.
Ingredients: 125g softened butter, 50g caster sugar, 175g flour
Method
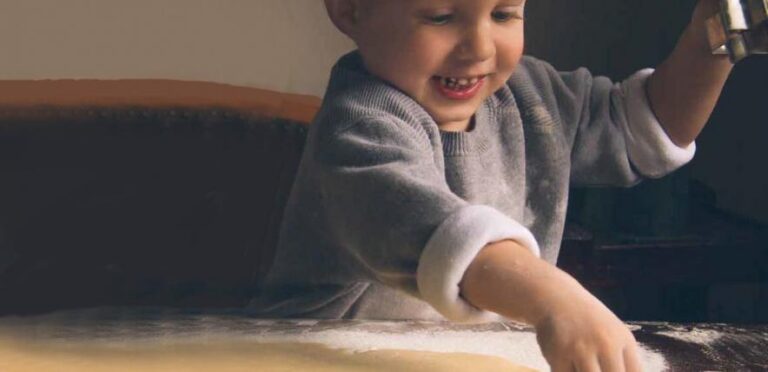
- Whisk the butter in a large bowl, then add the sugar and finally, fold in the flour. Let the children weigh, measure and mix as above.
- Have enough rolling pins ready so that each child can roll out their dough to roughly half a centimetre thick. Let them cut out their own shapes or use biscuit cutters in a variety of seasonal shapes.
- Bake in the oven at 150ºC for about 25 minutes.
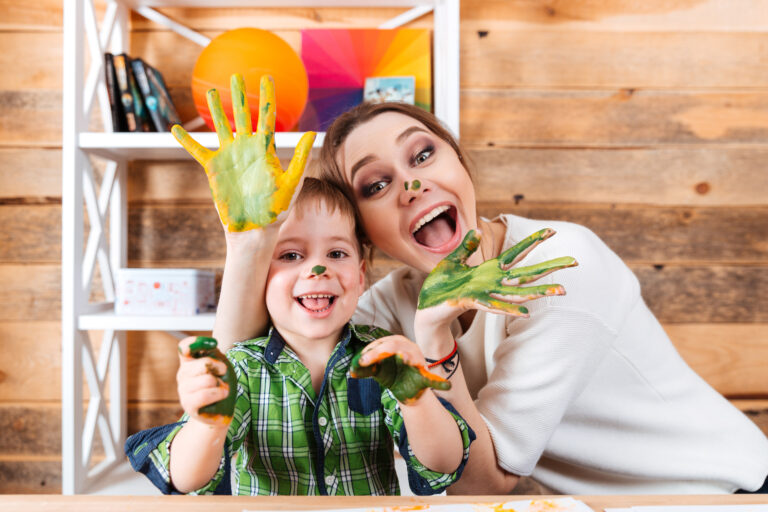
- Decorate in any way you like, using glacé cherries, angelica or icing and sprinkles. It can be nice to lay out all your decorations and allow the children to pick and design how they would like to decorate the biscuits themselves. Although this method can be a little messier, it’s a great opportunity to take some special photos, and your little ones will feel extra proud of the gifts they have made with their very own unique decorating touch.
Gift bags and boxes
When you have made your gifts or bakes, it’s good to have something handmade to put them in. If you commute to work, try to save the little brown bags that takeaway coffees and snacks are usually placed in on rail journeys. They are usually sturdy enough for decorating and should take PVA glue, collage and paint without disintegrating.
If you are using the gift bag(s) for mini-cakes, make a small cake board first – cut thick card to the right shape and line with foil. Place the cake board in the bottom of a small bag tied with ribbon at the top and place it in the child’s self decorated gift bag.
If you have been able to produce a gift card using photographs of the cooking activity, you now have a complete gift that will keep for a good couple of weeks – if the recipient can hold out for that long!
Of course, you could also try making your own gift bags or boxes from scratch with the children. They will need a little help with their construction. There are so many templates and ideas to be found online but what really makes it special is the personalised touch as a child decides what embellishments to add.
Remember that it’s really about individual pride for each child taking part and not about perfection!
Written for the Early Years Alliance by Melanie Pilcher.
This post first appeared in the Early Years Alliance member magazine, Under 5, in December 2017.